Pikachu Pi! I think that's my favorite Pikachu line. I love Pikachu. He's just so happy all the time. In every episode of Pokemon he is just happy doing whatever the heck everybody else is doing. He's so helpful and caring, just, awesome. Him and Ash are best friends and they love each other so much! Which is why my boyfriend and I are going as Ash and Pikachu for halloween! I'm going to be Pikachu. When I was thinking about how to make my costume I looked to the internet for help. There are quite a few tutorials and tips out there, but none of them were really what I was looking for. They either used really simple materials that wouldn't hold up, or the outfits didn't really look like Pikachu to me. I wanted a true Pikachu costume that would last for a really long time. It also had to be able to take a little bit of a beating. I am able to wear my halloween costume to work two days at the end of the month, plus I have a party to go to. So I needed it to withstand running around in a restaurant, working. I had made a Pikachu tail before, out of styrofoam. It didn't work well. I couldn't make it stand up the way it was supposed to. Plus, I couldn't sit down..not fun. So the other day while I was at Hobby Lobby grabbing some materials for new additions to my Etsy shop, the guy in line behind me had these big sheets of foam that he was buying. I went back a couple days later and found the perfect solution. Poly-foam. It came in different thicknesses and sizes, and it was cheap. And it looks great!
So here are the materials you need:
So here are the materials you need:

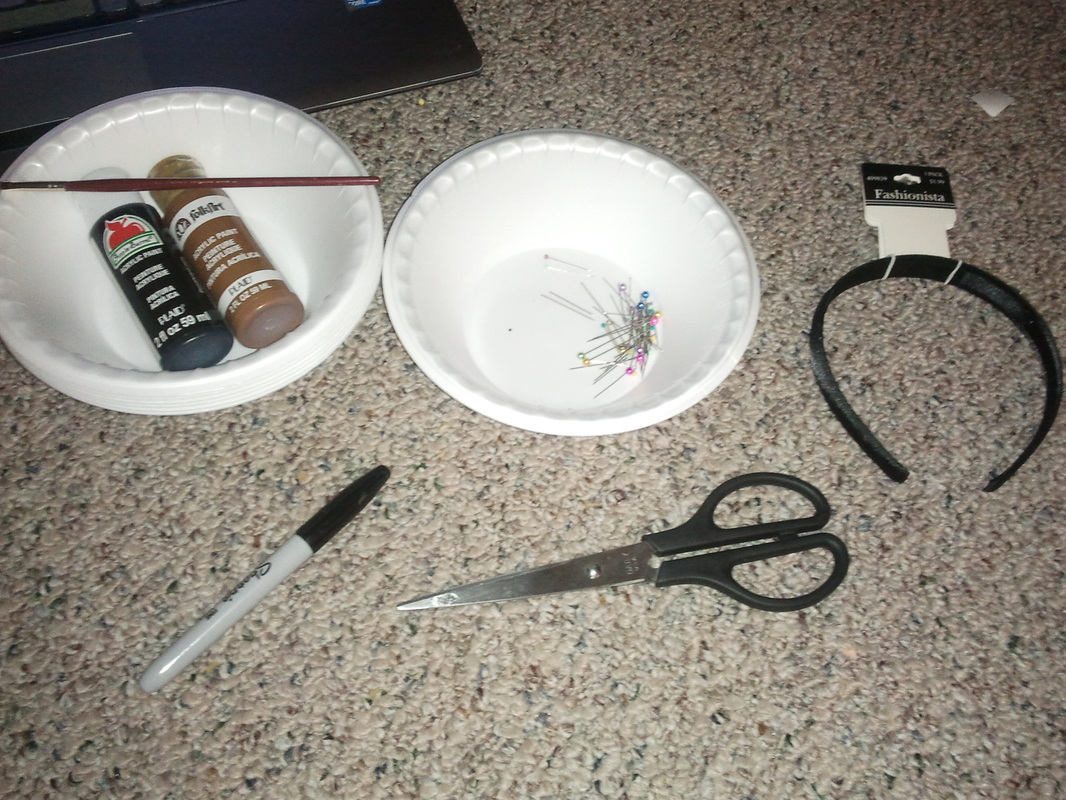
Poly Foam
- I got two different sizes. The smaller one is 1" X 14" X 14". The bigger one is 2" X 22" X 22".
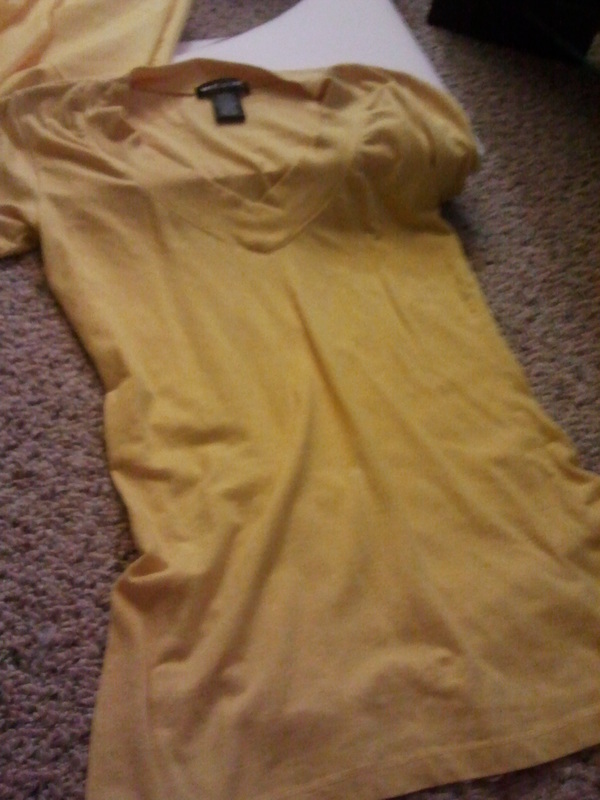
Yellow Shirt (Not pictured)
Yellow Fabric
Headband. (If you have dark hair like mine I would recommend getting black. If your hair is blonde I would recommend getting white. You want the headband to sort of blend into your hair easily.)
Black Paint
Brown Paint (The color brown I got was called "Nutmeg")
Paintbrush
Floral Wire (Not pictured)
Scissors
Sharpie Marker
Hot Glue
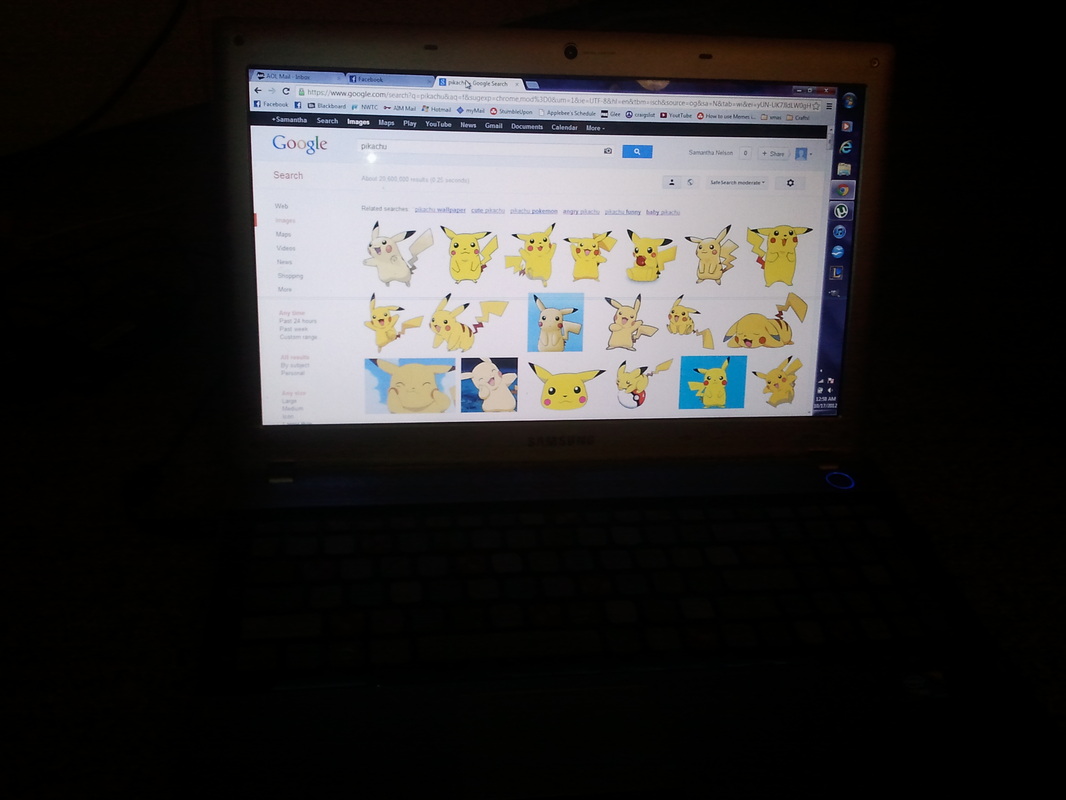
Pictures of Pikachu!
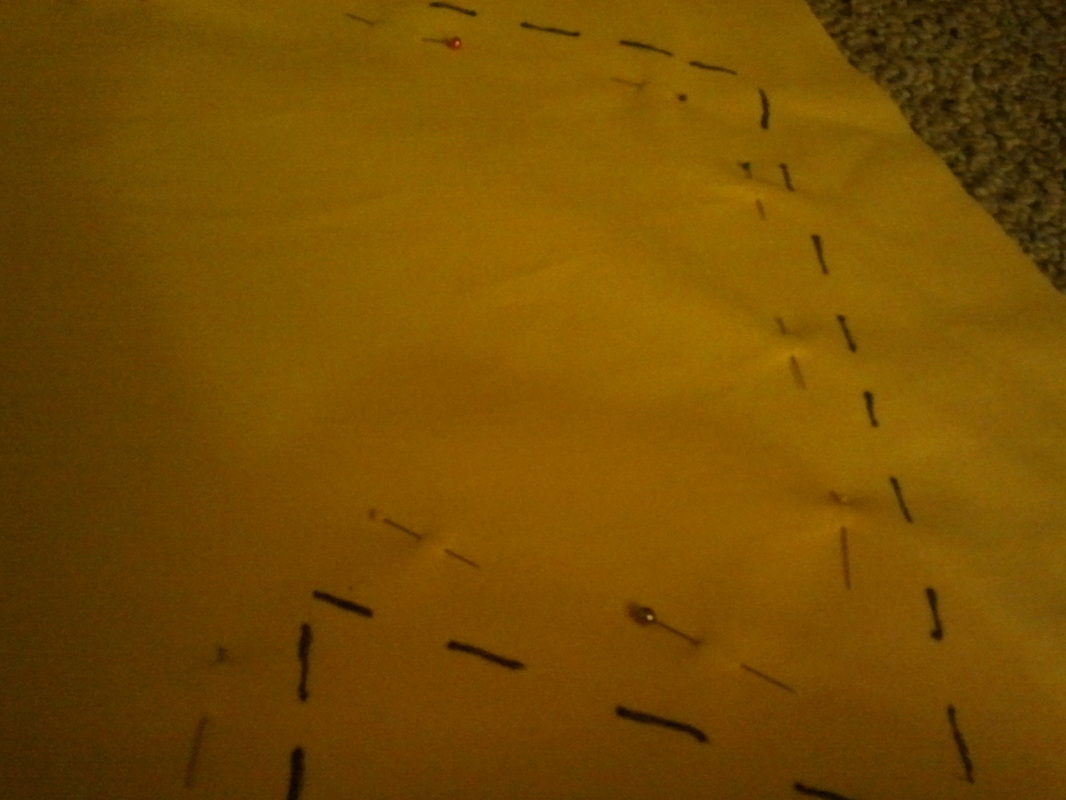
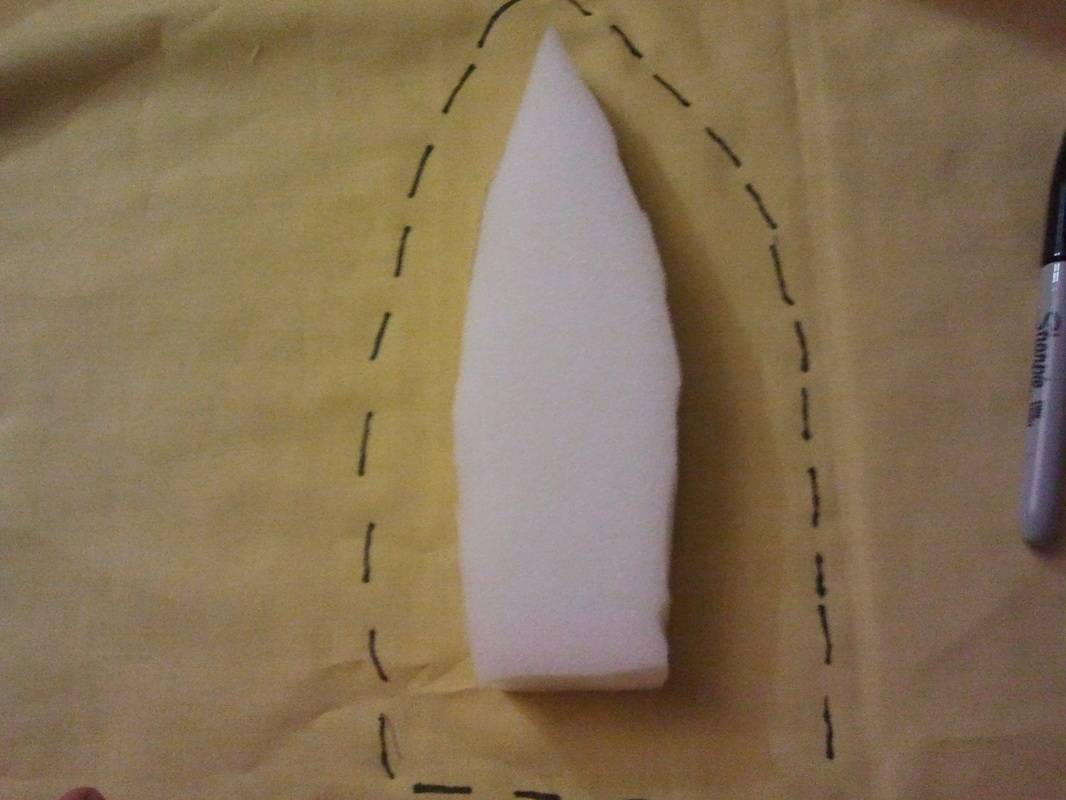
So I started with the tail on this one. Look at your pictures and get the best drawing you can. Don't be afraid to draw one and mess up. We are going to cover up the foam with fabric, so you won't see it.
The one thing I've noticed in some other tutorials is that the tail is really tiny. But Pikachu's tail is almost bigger than he is. It'll look more like Pikachu is it's bigger. There should be 4 points on each side of the tail. Do your best to free hand it. Here's mine:
- I got two different sizes. The smaller one is 1" X 14" X 14". The bigger one is 2" X 22" X 22".
Yellow Shirt (Not pictured)
Yellow Fabric
Headband. (If you have dark hair like mine I would recommend getting black. If your hair is blonde I would recommend getting white. You want the headband to sort of blend into your hair easily.)
Black Paint
Brown Paint (The color brown I got was called "Nutmeg")
Paintbrush
Floral Wire (Not pictured)
Scissors
Sharpie Marker
Hot Glue
Pictures of Pikachu!
So I started with the tail on this one. Look at your pictures and get the best drawing you can. Don't be afraid to draw one and mess up. We are going to cover up the foam with fabric, so you won't see it.
The one thing I've noticed in some other tutorials is that the tail is really tiny. But Pikachu's tail is almost bigger than he is. It'll look more like Pikachu is it's bigger. There should be 4 points on each side of the tail. Do your best to free hand it. Here's mine:
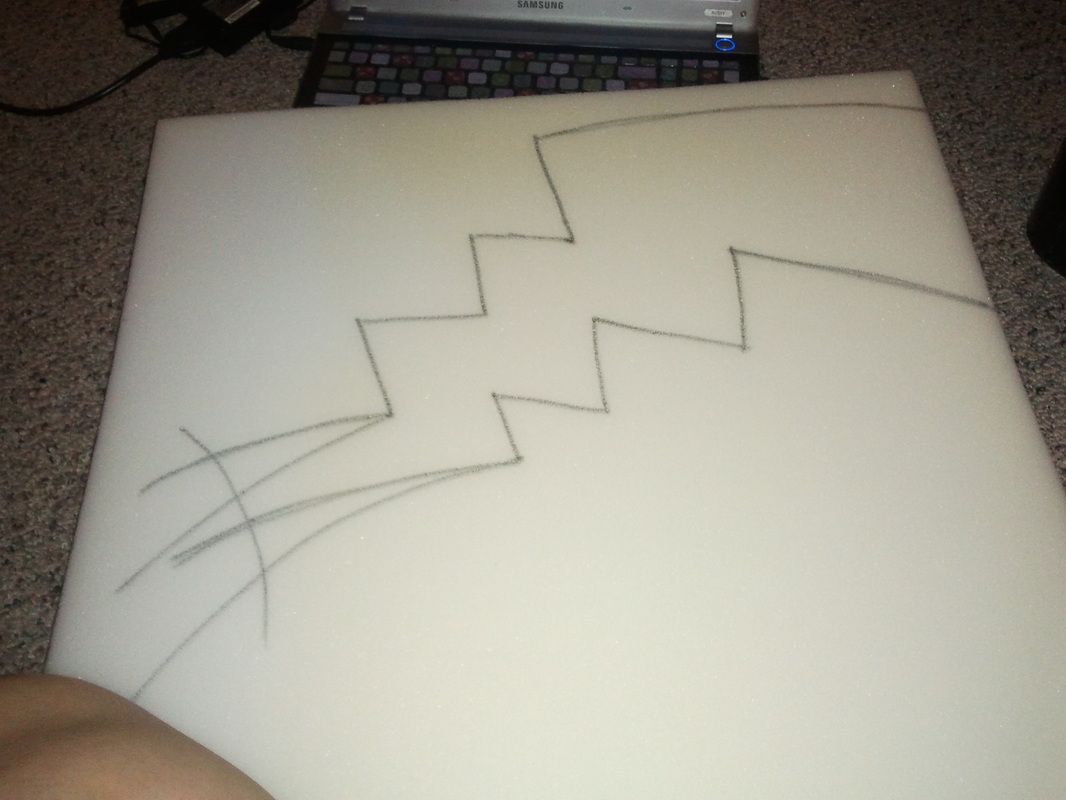
The big top edge of mine measures about 11 inches. Make it work for your body. When I have mine on the big end of the tail comes up to just underneath where my collar on my shirt is. You want it to be kind of big. The foam is pretty thick so it would look really funny if it was really small. The point is to make it cartoonish. I mean, I want to dress up as Pikachu, who is an anime character. So I want it to look as cartoonish as possible, because that's what makes him so adorable!
So the next step is to cut out the tail. You can just use a regular scissors for this. It's a little bit difficult but it doesn't have to be perfect. The edges will be rough and uneven but it's ok, it's not going to matter. As long as they are mostly straight you'll be fine.
So the next step is to cut out the tail. You can just use a regular scissors for this. It's a little bit difficult but it doesn't have to be perfect. The edges will be rough and uneven but it's ok, it's not going to matter. As long as they are mostly straight you'll be fine.

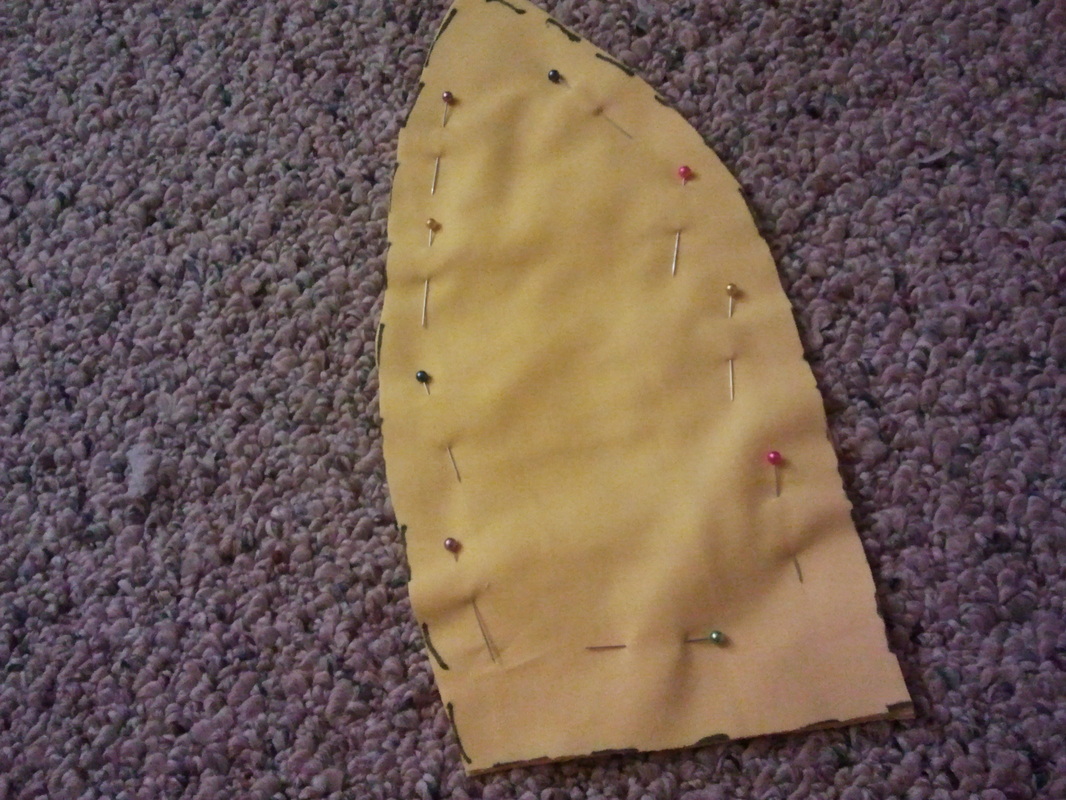
So not we need to cut some fabric. Lay your tail on top of the yellow fabric, and trace around it. Leave at least an inch and a half of space around the entire thing. Again, it doesn't have to be perfect.
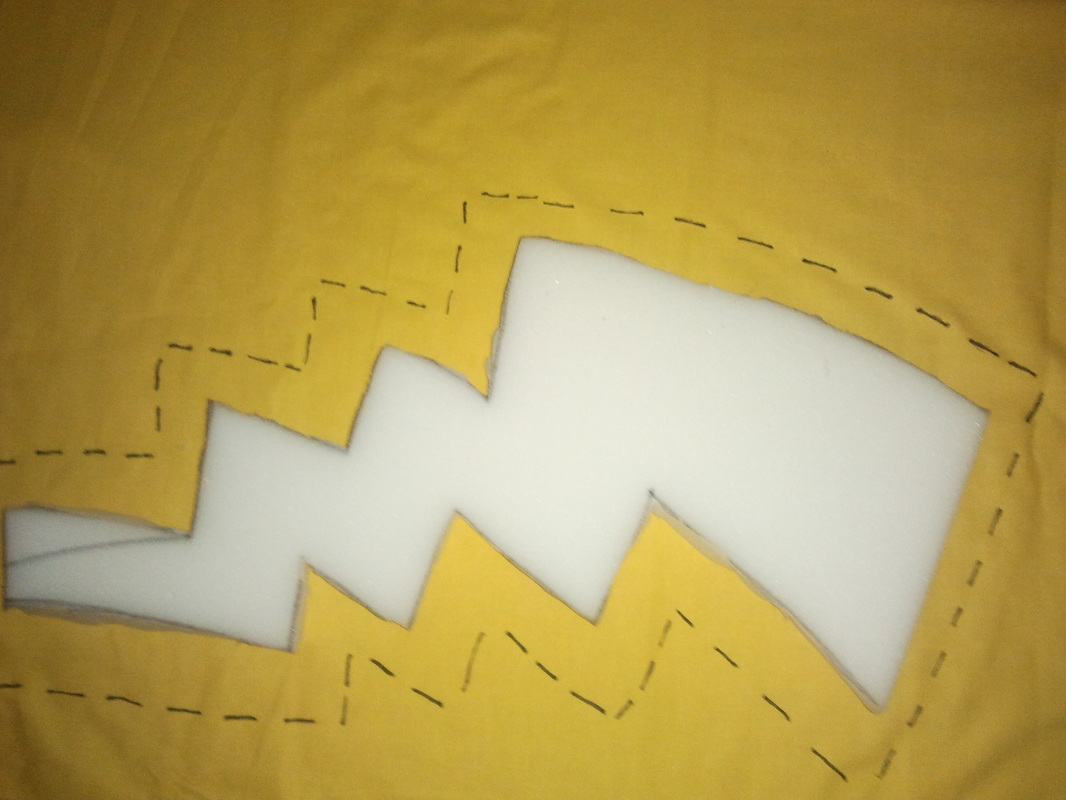
Now you are going to remove the tail, fold the fabric in half, cut off the excess bulk of fabric and pin around the inside of the line you drew. You want to pin the layers together. Then, cut out both layers around the dotted line, take out the pins, and you should have two Pikachu tail shaped pieces of fabric.


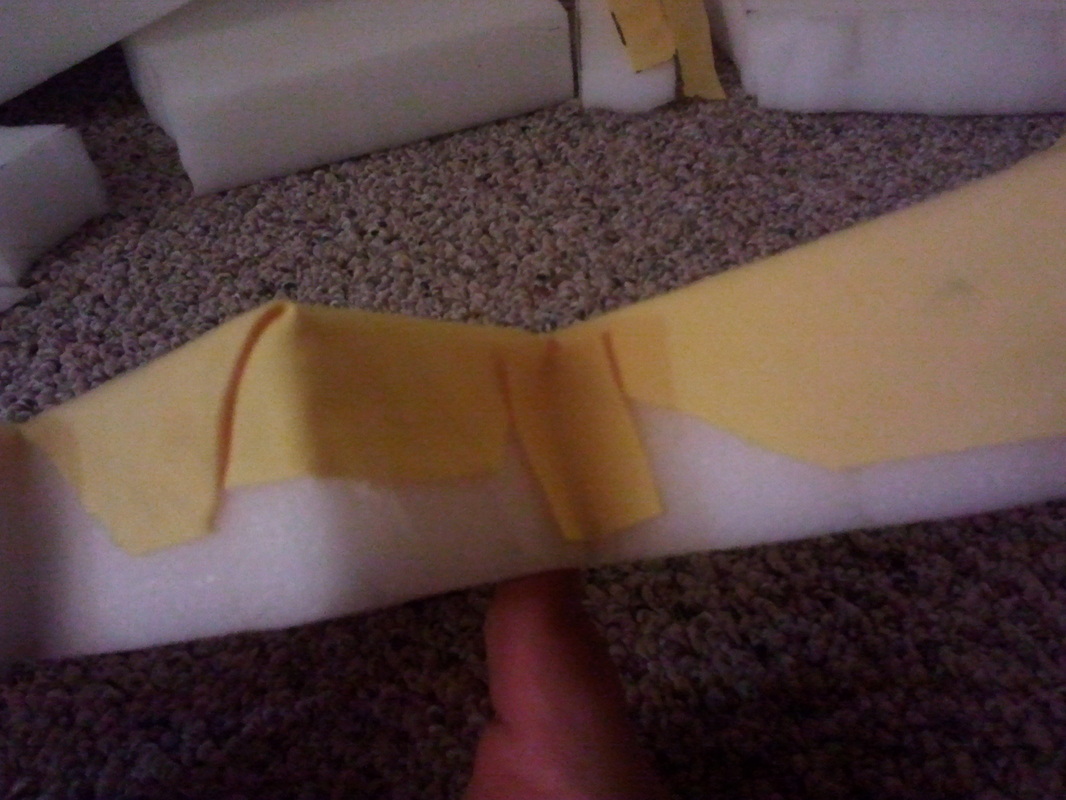
Now it's time to attach the fabric to the tail. I opted to use hot glue. It's kind of my go to for everything. Lay the Pikachu tail on one piece of the fabric so it lines up. Then put a thin strip of hot glue the same length as the big edge. Fold the fabric up and glue it to the foam.

I apologize now for the pictures. I was running out of light so some are a little dark and some are a little bright. You can get the just of them though. Once you start doing this it will be easy to finish.
So, now it's time to do the corner. Fold the corner over just like you would a present. Make sure you are gluing every little corner as you go. You don't want anything to not be glued down to something. For example the corner. Glue the edge of the little bit of fabric hanging off the edge. Wrap it around the tail and then when you push the fabric to make a corner, glue that fabric down. Try not to spread glue over the entire side of the tail, only on the edges. You will find out why later in the tutorial.
With the corners you want to cut straight into the corners, but not all the way to the corner. Leave just a tiny bit of room there. It will stretch on the corners a little bit, but you don't want the cut to show up on the side of the tail. If you need to cut it a little bit further while you're gluing it you can do it then.
Then you're going to want to fold and glue the edges up just like you did with the last corners.


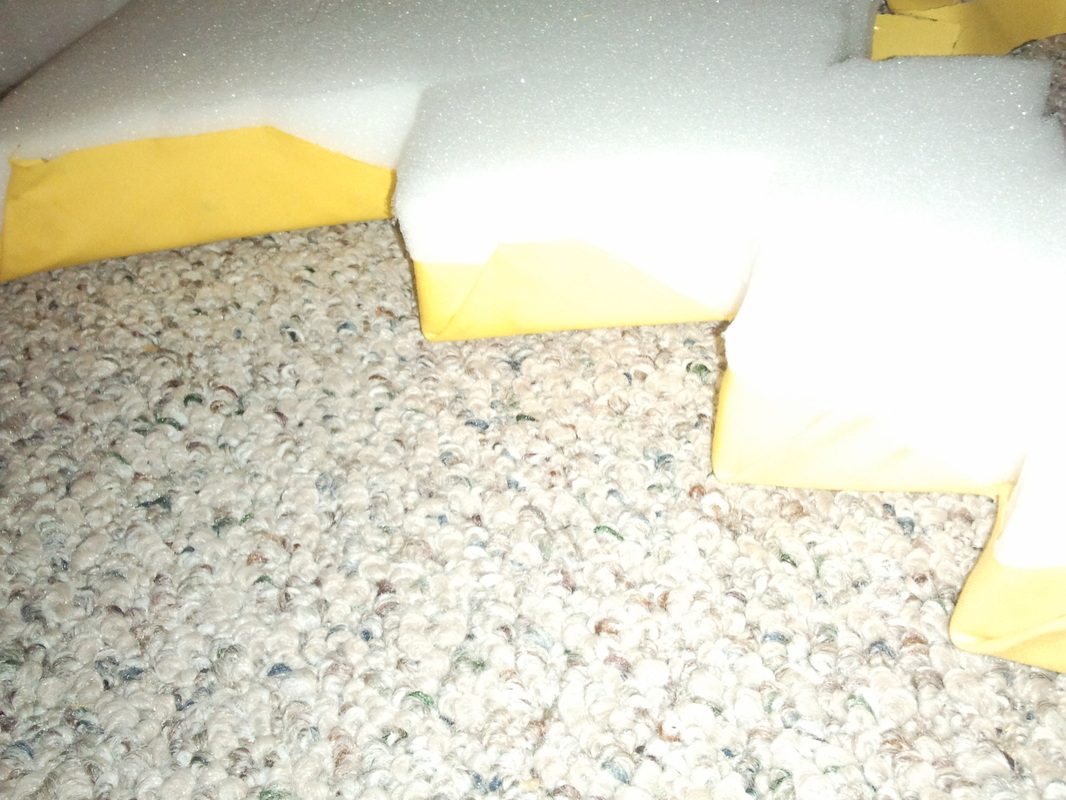
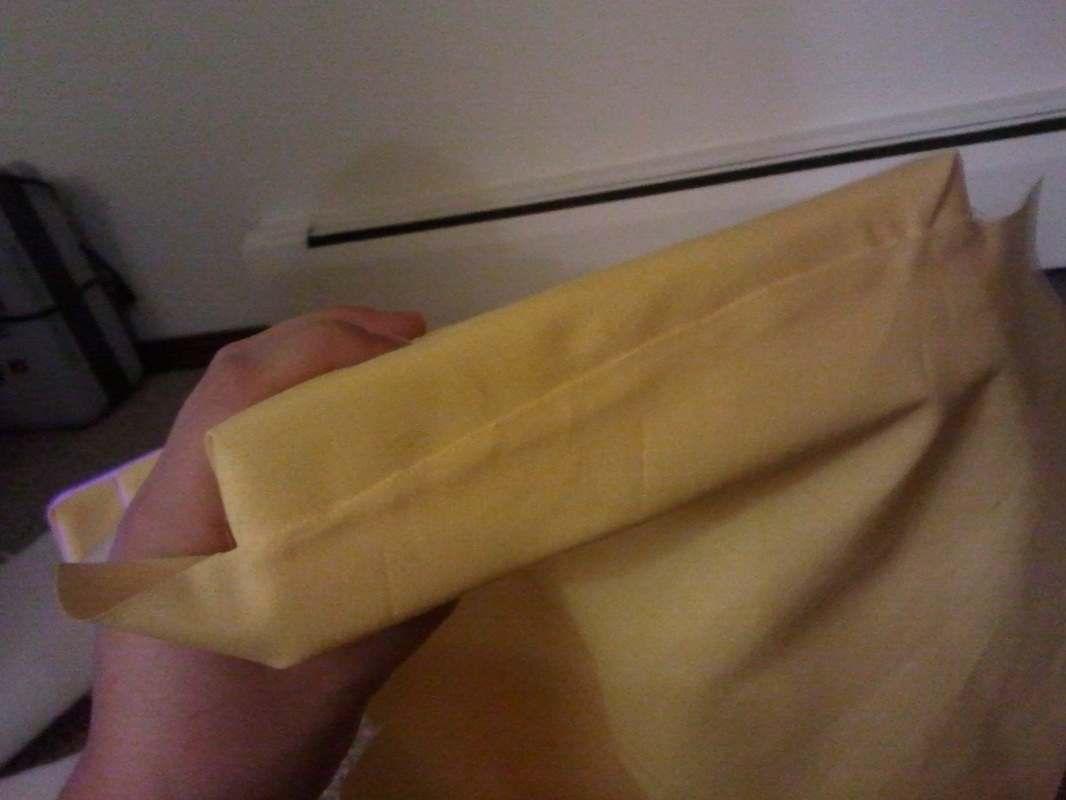
Here is one entire side with all the corners done so you can hopefully see it a little bit better.
I hope that helps with a visual on how I was trying to explain it.
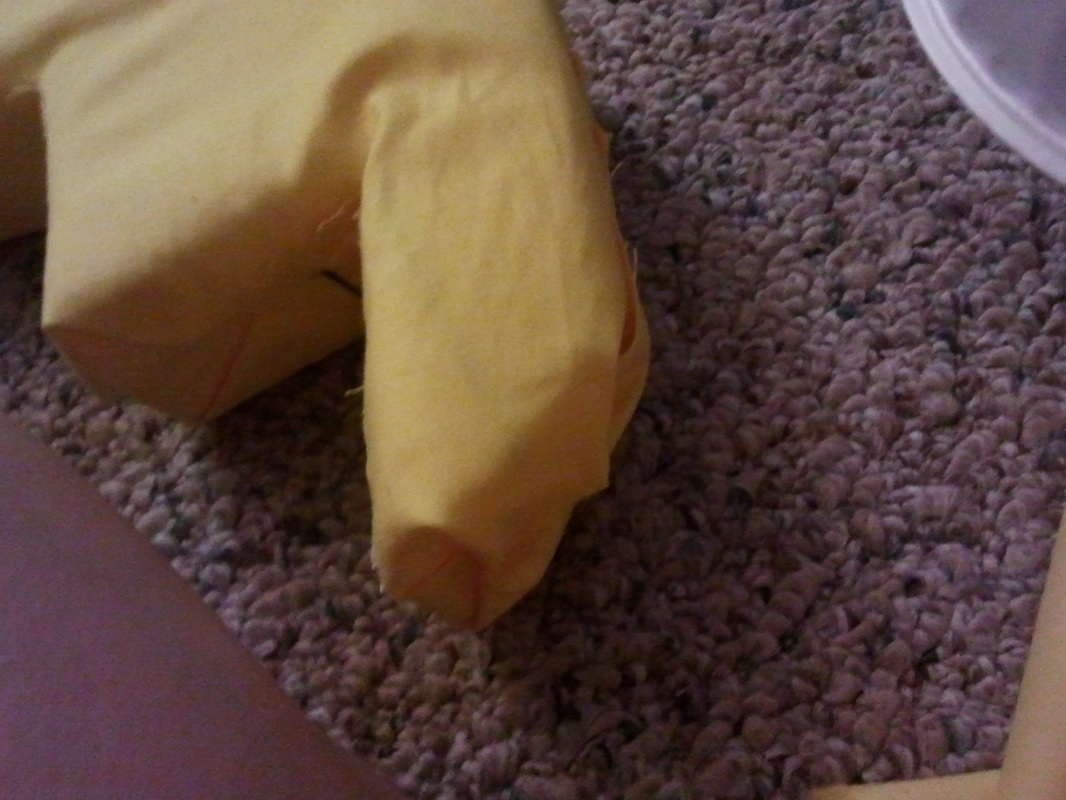
Do the same thing on the other side and glue all the way to the bottom of the tail (the part that attaches to you) but leave the very bottom open.
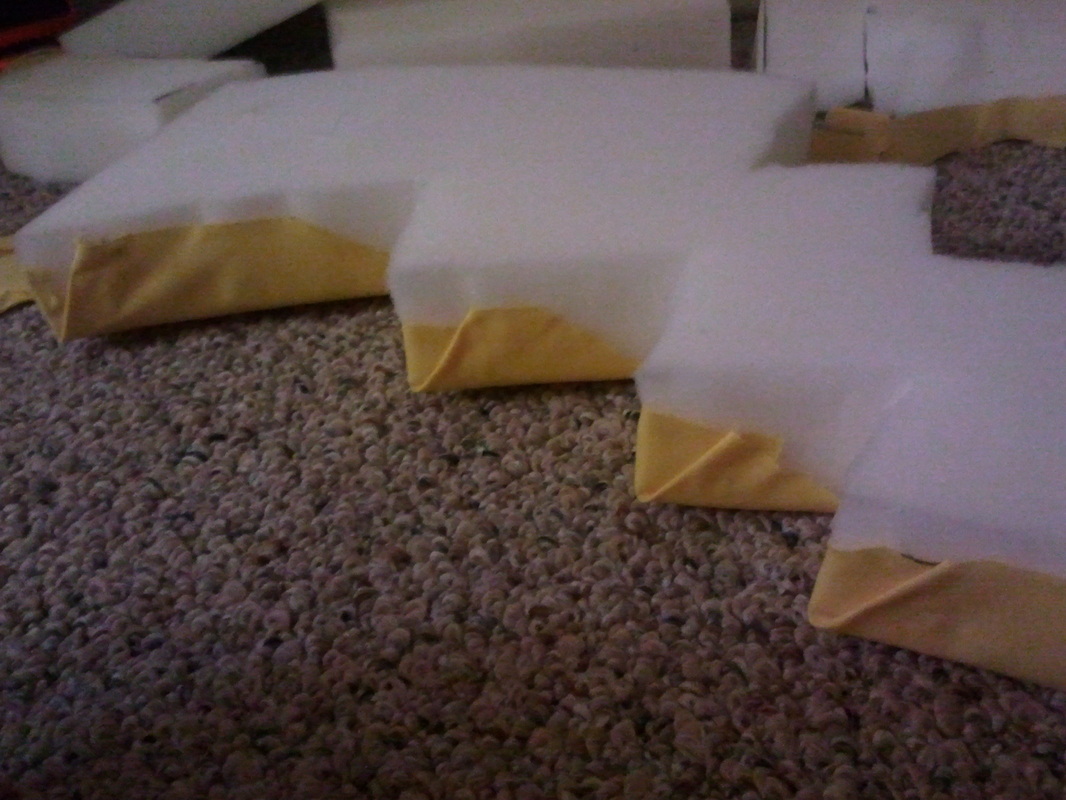
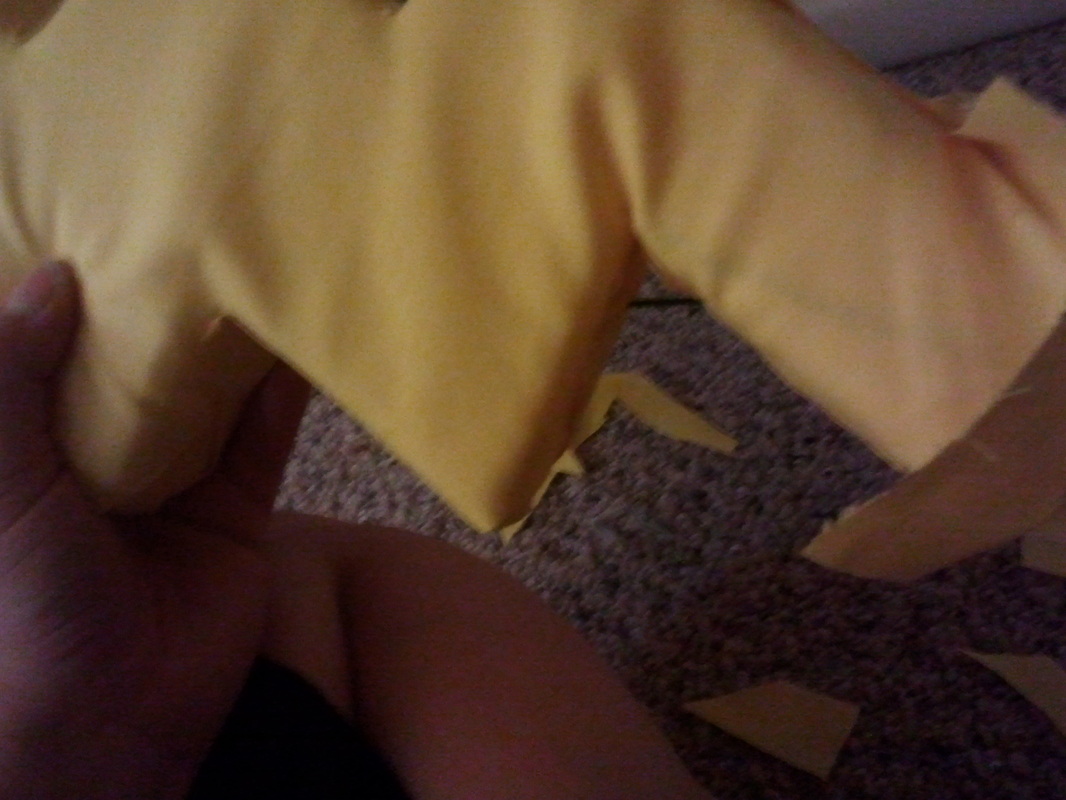
When you're done with both sides, flip it over to see how it looks!
Do the same thing on the other side and glue all the way to the bottom of the tail (the part that attaches to you) but leave the very bottom open.
When you're done with both sides, flip it over to see how it looks!
The fabric may seem a little bit loose around the corners, but that's Ok. That way if the tail gets bumped or squashed or you sit down, the foam has room to move inside of the fabric. That's why we only glued the edges of the fabric. I liked the foam because it can move and then spring right back into shape. So you want it to have room to do that.
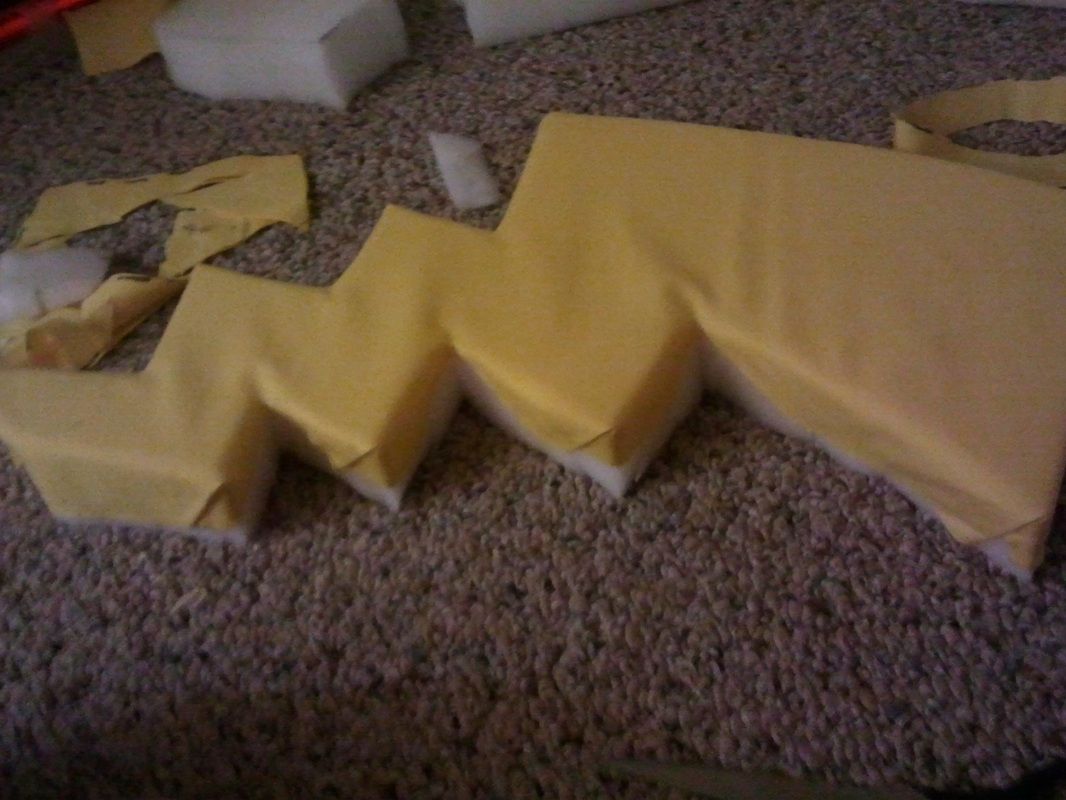
Next we do the other side. Now one thing that I noticed is that when I do the inside corners, there is going to be a big white spot. So I took some little pieces of fabric and glued them into the corners. I cut the top corners off just a little bit so you couldn't see it as much from the side. You could do this before you glue down any other fabric, so that way the other fabric covers them up. It will still look good if you do it this way though.
Next we do the other side. Now one thing that I noticed is that when I do the inside corners, there is going to be a big white spot. So I took some little pieces of fabric and glued them into the corners. I cut the top corners off just a little bit so you couldn't see it as much from the side. You could do this before you glue down any other fabric, so that way the other fabric covers them up. It will still look good if you do it this way though.
(Yes, I know that's my toe - it's hard taking photos by yourself, especially in low light. I always do big project like this on the floor too so my feet are always there to help! Maybe I should be a Mankey or something instead..haha)
So after you've got the corners covered up it's time to do the other side. Do it exactly like you did this side. If you wanted to, you could do a little hem of the fabric, so that it's not a cut edge. I personally liked the cut edge better, because it was flatter. If you could iron the hem down so it's flat, then by all means, do that. I don't have an iron, so I can't actually do that. It still looks really nice though. I just trimmed the sides right before I cut them so that I had a nice clean edge when I glued them.
So after you've got the corners covered up it's time to do the other side. Do it exactly like you did this side. If you wanted to, you could do a little hem of the fabric, so that it's not a cut edge. I personally liked the cut edge better, because it was flatter. If you could iron the hem down so it's flat, then by all means, do that. I don't have an iron, so I can't actually do that. It still looks really nice though. I just trimmed the sides right before I cut them so that I had a nice clean edge when I glued them.
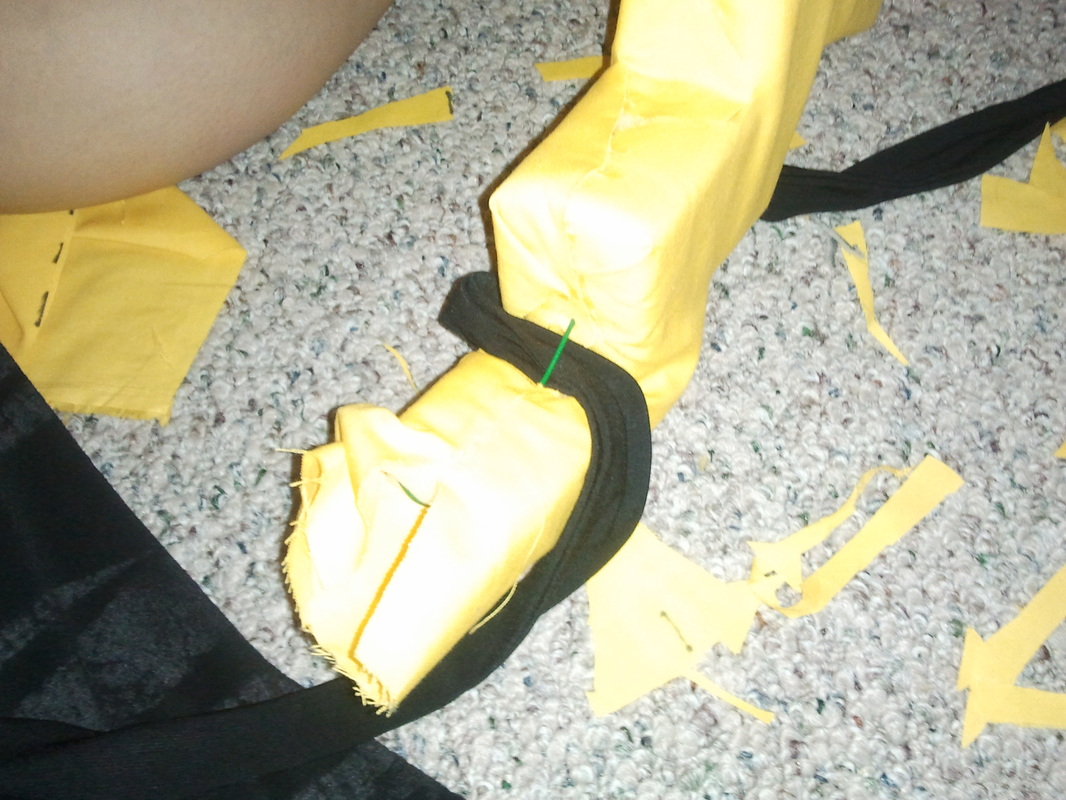
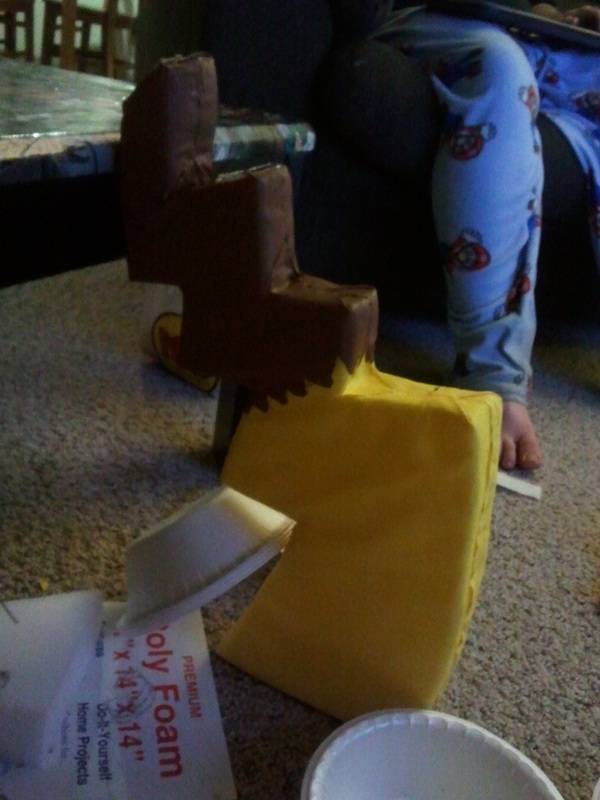
After you get the fabric glued all the way around, then we need to reinforce it a little. When I held the tail up to my back, it went a little limp, since the top is so much heavier than the bottom. So I took a long piece of floral wire and just stabbed it all the way through the tail. There is only a little bit sticking out right near the bottom.
I found a sash type thing in my closet. It's like a thing you wrap around a dress. I just threaded it behind that little wire sticking out and then I tied it around my waist. The foam will bunch up but it stays pretty good! When I put the costume all together I am going to tie a little line of fishing wire from the top of the tail to my shirt. Not right up against it, but just for some added reinforcement at the top. It will still allow it to move a little bit but it won't tip over while I'm working or something. If you are just going trick or treating or to a party though you might not need the fishing line.
If you haven't already done so, cut the end at an angle. It will fit against your body better that way. Then glue the flaps shut.
Now for the finishing touches! You have to add the brown on Pikachu's tail! I used Nutmeg brown acrylic paint. It is a little difficult painting on fabric, just remember to use a lot of paint to cover up all the yellow. When you get about halfway up the tail you need to paint the little "tuft" of fur. I made my points pretty thick, to make it look more cartoony. I tried to make it look more like "fur" but it didn't really work. I like this look better.
Don't forget to paint the edges! It needs to be brown all the way around.
Don't forget to paint the edges! It needs to be brown all the way around.
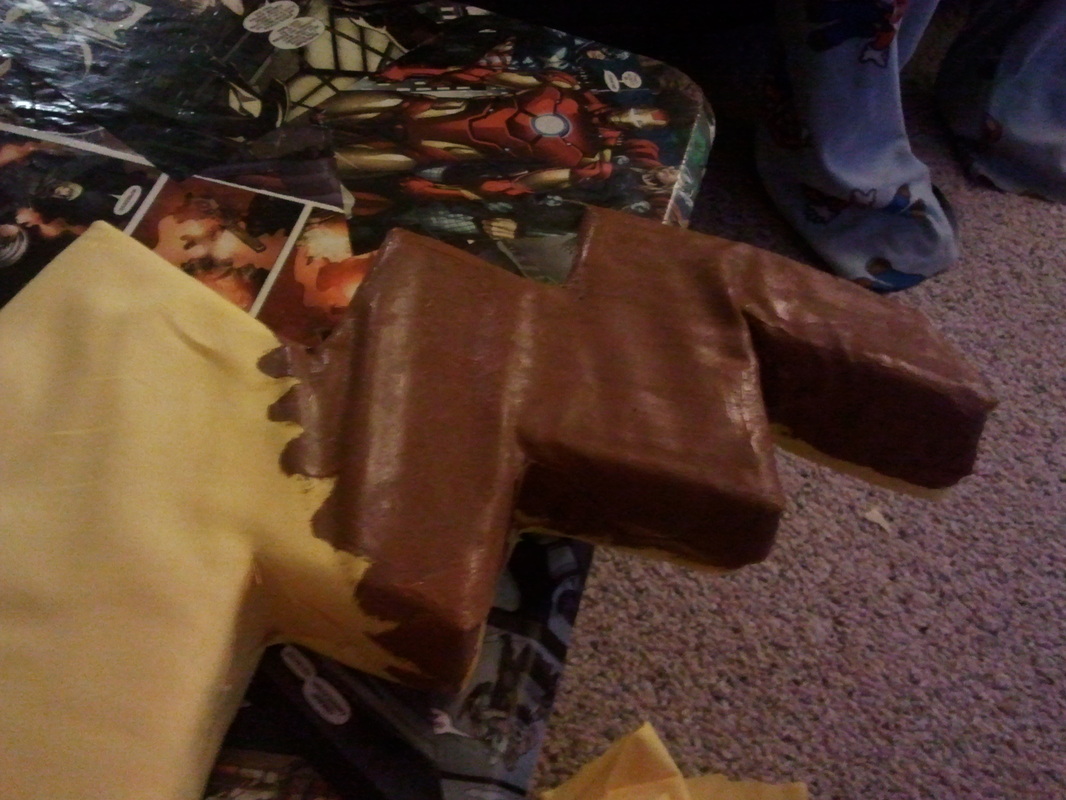
Paint both sides and make sure you get all the little yellow spots covered up, and then you are all finished with the tail!
Now before we move on to the ears I need to give you guys a little tip. Be careful of the hot glue. It's freaking hot. While I was gluing the end of the tail together a drop of hot glue fell off of the gun and onto my leg. OUCH. It burned so bad. It took skin off. I don't think that that has ever happened to me before. Normally with everything that I do I end up hurting myself in some way. Here - have a look.
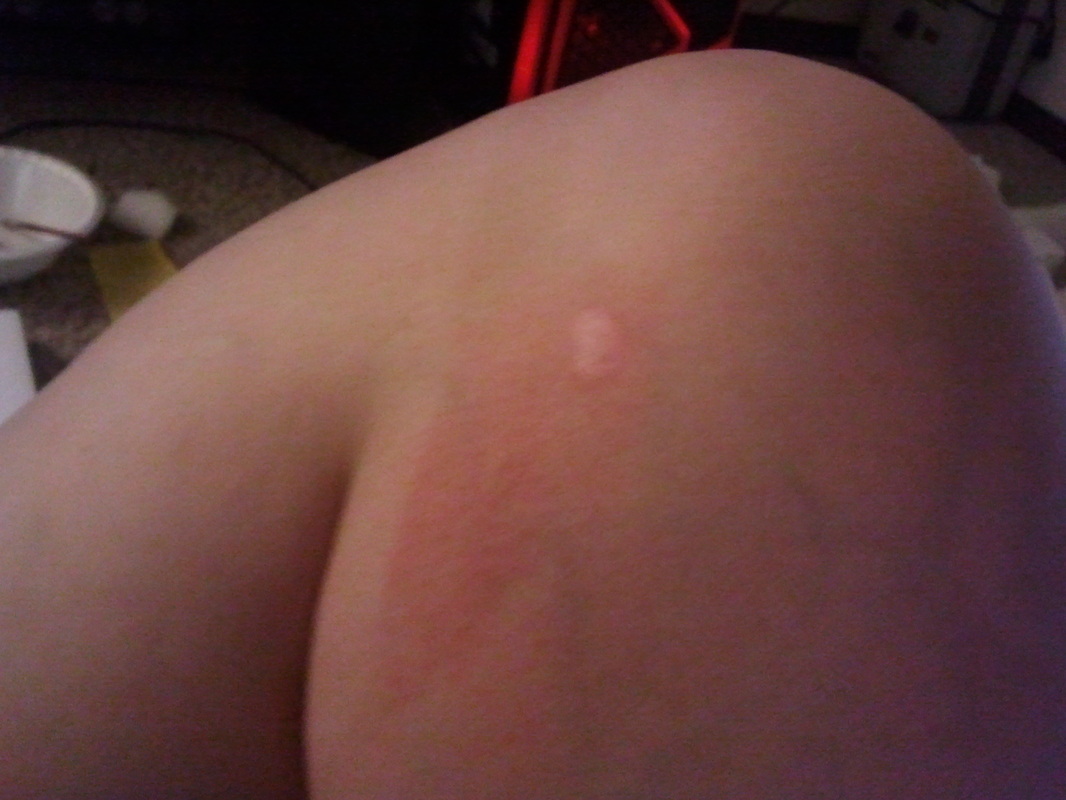
I had to show the Avenger's tattoo band-aid I put on it. Cuz it's cool. And yes, it still hurts a day later. Grr. So - note to you guys, be careful with hot glue. I realize it's pretty much common sense but it happens! If you do burn yourself, get ice on it right away, and keep it on. It will stop the skin from burning further.
Now we can move on to the ears. These will go much faster than the tail, since you're obviously a pro by now. Granted that you haven't burned yourself.
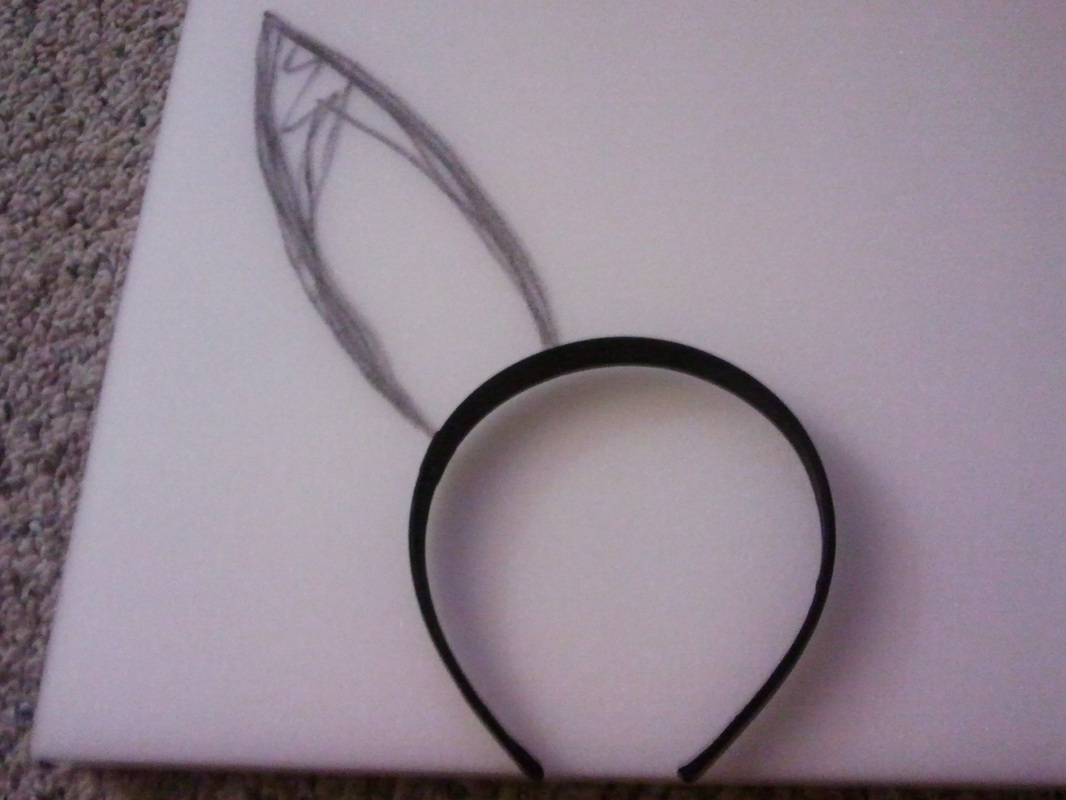
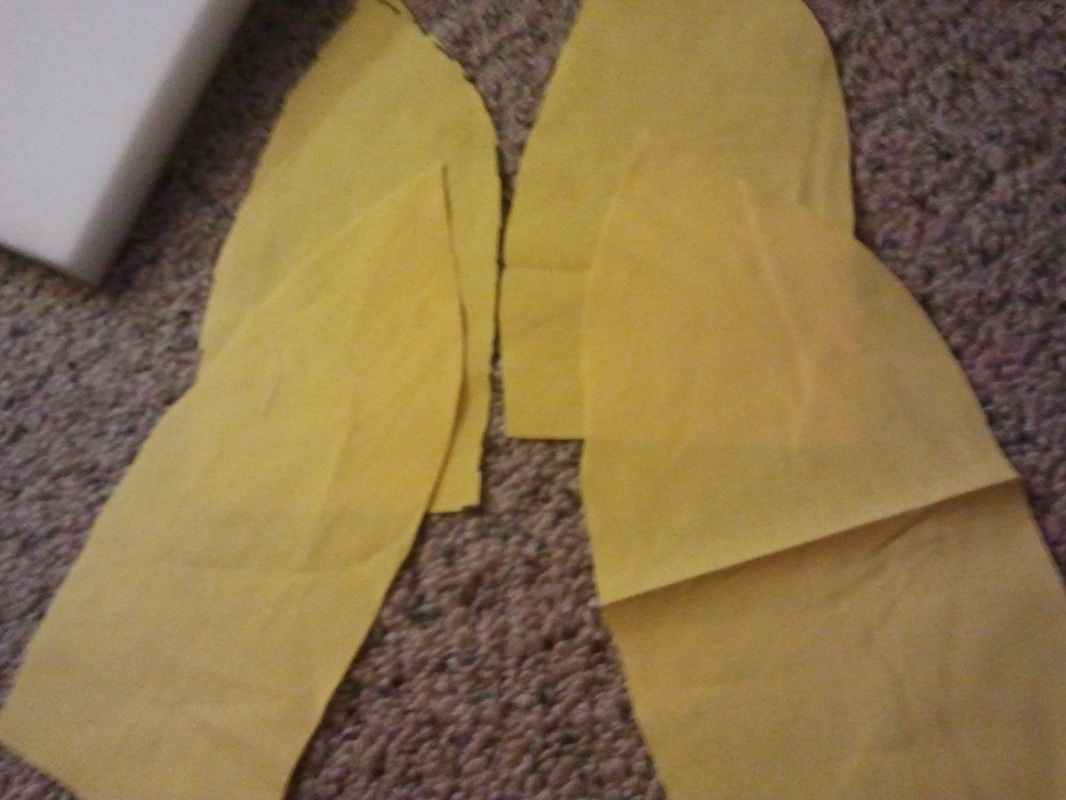
You will need the smaller piece of Poly Foam for the ears. I took the headband and laid it on the foam. Then I traced one of the ears based on the headband. That way you aren't guessing if the ear will look right on the headband.
Pikachu's ears should be wider at the bottom and pointy - ish at the top. Not too pointy, Pikachu can't like stab people with his ears. They should be a little rounded, but just barely. Look at pictures again while you're doing the ears. They should be long a skinny, and pretty tall. Here's mine:
Now we can move on to the ears. These will go much faster than the tail, since you're obviously a pro by now. Granted that you haven't burned yourself.
You will need the smaller piece of Poly Foam for the ears. I took the headband and laid it on the foam. Then I traced one of the ears based on the headband. That way you aren't guessing if the ear will look right on the headband.
Pikachu's ears should be wider at the bottom and pointy - ish at the top. Not too pointy, Pikachu can't like stab people with his ears. They should be a little rounded, but just barely. Look at pictures again while you're doing the ears. They should be long a skinny, and pretty tall. Here's mine:
I only drew one ear to start. Then I cut it out, traced it, and cut out the other one. Then I stacked them to make sure that they were even. You want them to be exactly the same size, or they look weird.
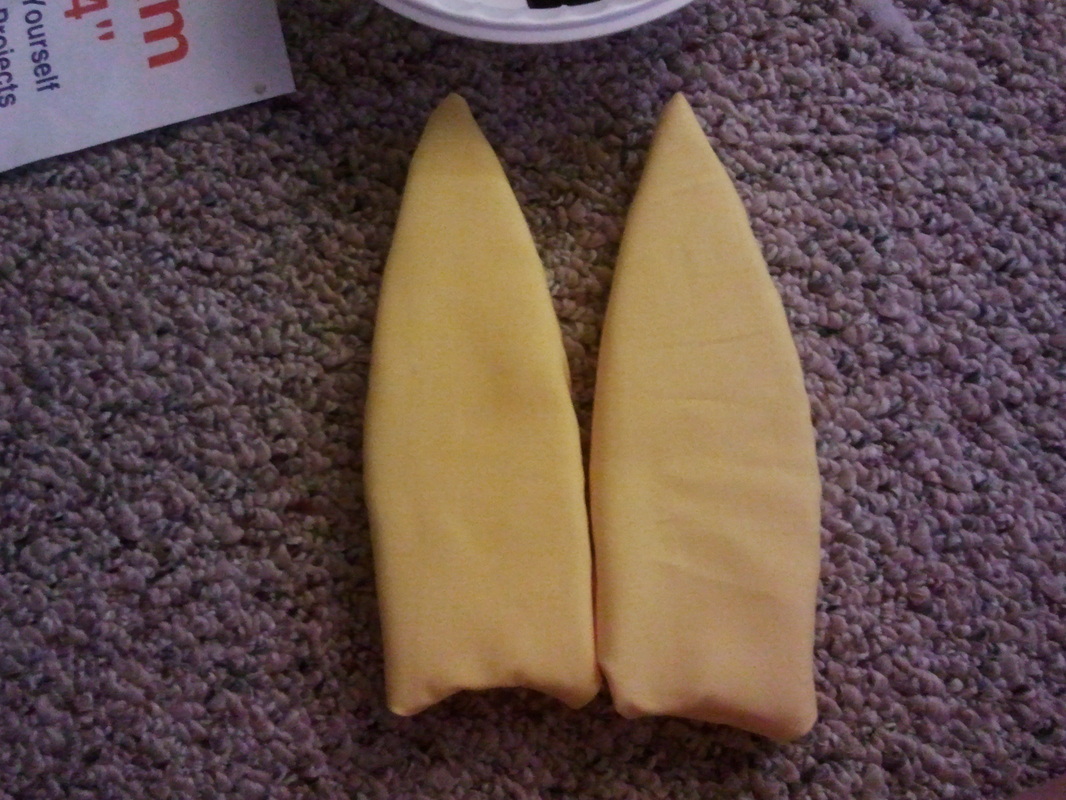
Then we are going to do the same thing we did with the tail. Trace one of your ears on the yellow fabric. This time it only really needs to be between 1/2 inch and an inch bigger than the ear. Then you are going to fold it TWICE. This way you have four layers. Pin and cut, and you should have four Pikachu ear shaped pieces of fabric.
Then we are going to do the same thing we did with the tail. Trace one of your ears on the yellow fabric. This time it only really needs to be between 1/2 inch and an inch bigger than the ear. Then you are going to fold it TWICE. This way you have four layers. Pin and cut, and you should have four Pikachu ear shaped pieces of fabric.
Then go ahead and start covering the ears the same way you covered the tail. The tip you are going to do just like you did the corners of the tail. The bottom of the ear should be a little bit rounded, so it glues onto the headband more easily.
Now, you have a couple of options. Either way will work. You can either close up the bottom of the ears and just hot glue them straight to the headband, or you can leave the flaps open and wrap them around the bottom of the headband and glue them that way. The picture below shows them closed up, but either way will work just fine. I depends on your preference.
Now, you have a couple of options. Either way will work. You can either close up the bottom of the ears and just hot glue them straight to the headband, or you can leave the flaps open and wrap them around the bottom of the headband and glue them that way. The picture below shows them closed up, but either way will work just fine. I depends on your preference.
And then onto the final touches for the ears! We need to make the tips black. Make sure you look at a picture of Pikachu while doing this. The bottom edge of the black part sort of curves up into the middle. Make sure they look even.
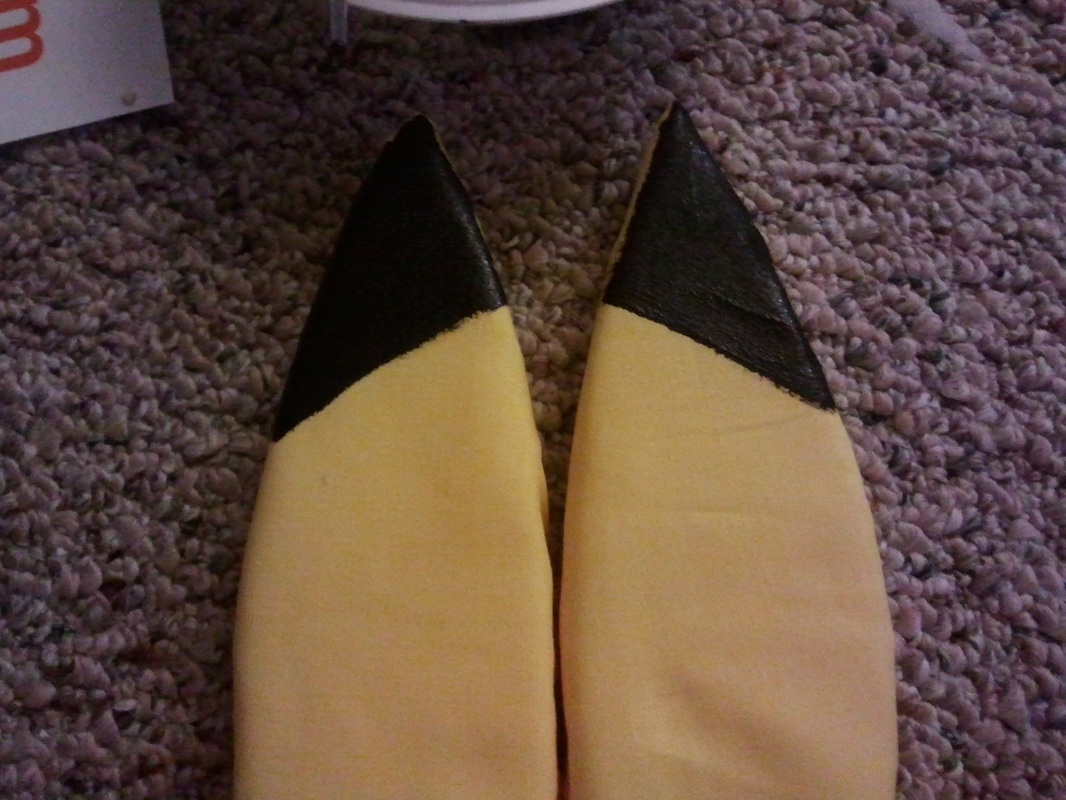
Make sure you wrap the black all the way around the ear just like the brown on the tail. Then we need to glue them to the headband. Just take your hot glue and be generous so that they have a lot to hold on to. Then glue the ears how you would like them on the headband. My favorite thing is when Pikachu has one ear up and one kind of down. He always does that when he's really happy or sort of lost. Which are basically my two emotions. So I want my ears to look like that. So I glued them on like that! Here they are!
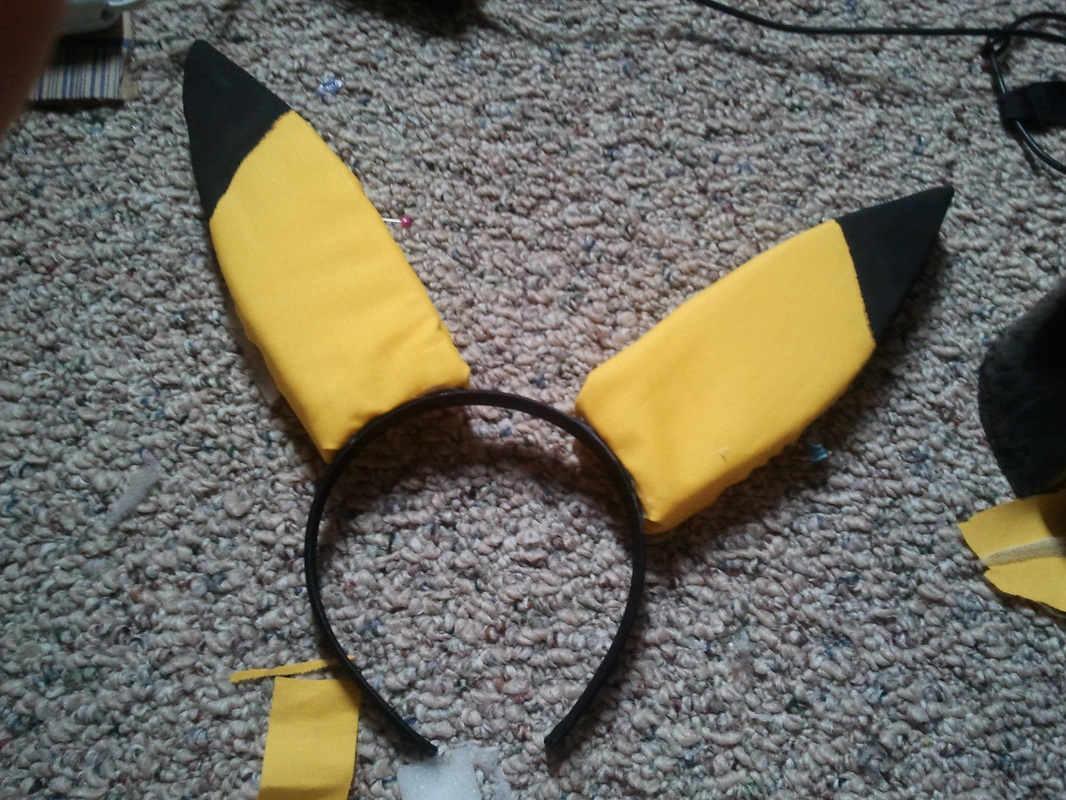
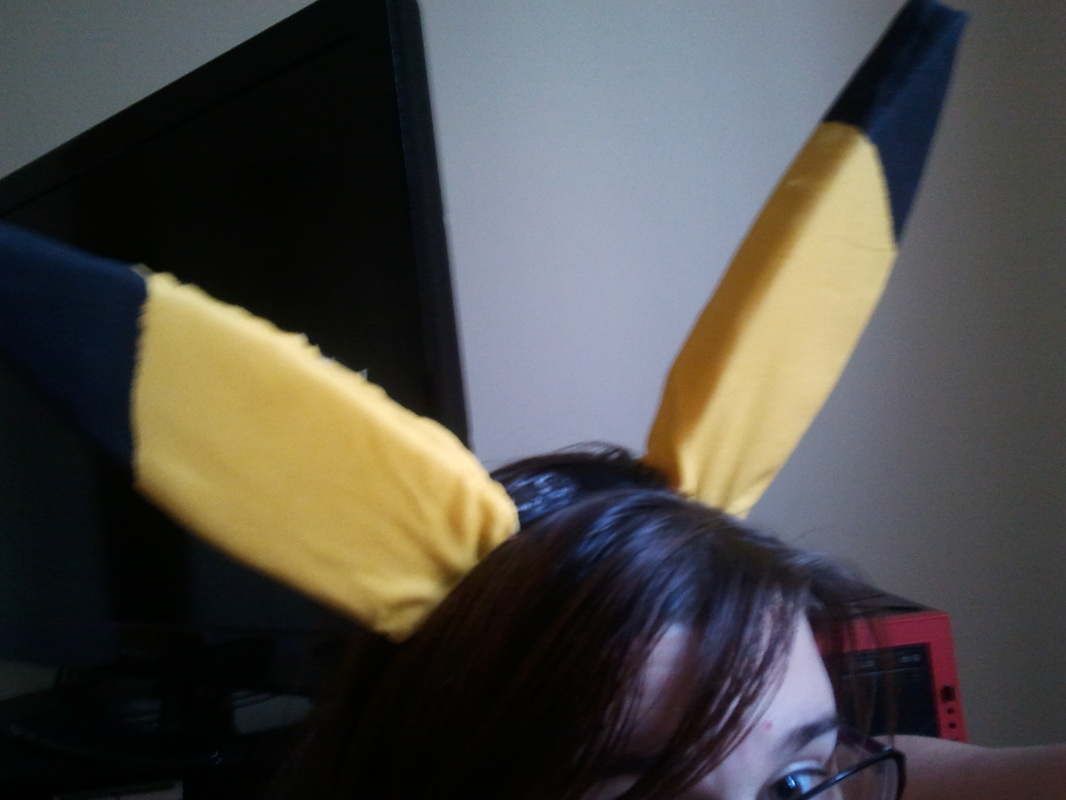
See how tall they are on my head? I think that looks awesome. In the first picture above they are glued on with the flps being pre-shut. Then I kind of screwed them up and somehow ended up wrapping the fabric around the headband. That's in the second picture above. I kind of like how it puckers just a little bit at the bottom when you wrap it. Makes it look like they are actually attached to my head.
So now what about the rest of the costume? Well. I am going to be wearing a dress that has a black tulle skirt for the bottom. the top half of the dress is purple, but I can easily cover it up with another t-shirt. So I will just be wearing a yellow t-shirt for the top. Well, Pikachu has these adorable little brown stripes on his back, so I needed to do that.
So now what about the rest of the costume? Well. I am going to be wearing a dress that has a black tulle skirt for the bottom. the top half of the dress is purple, but I can easily cover it up with another t-shirt. So I will just be wearing a yellow t-shirt for the top. Well, Pikachu has these adorable little brown stripes on his back, so I needed to do that.
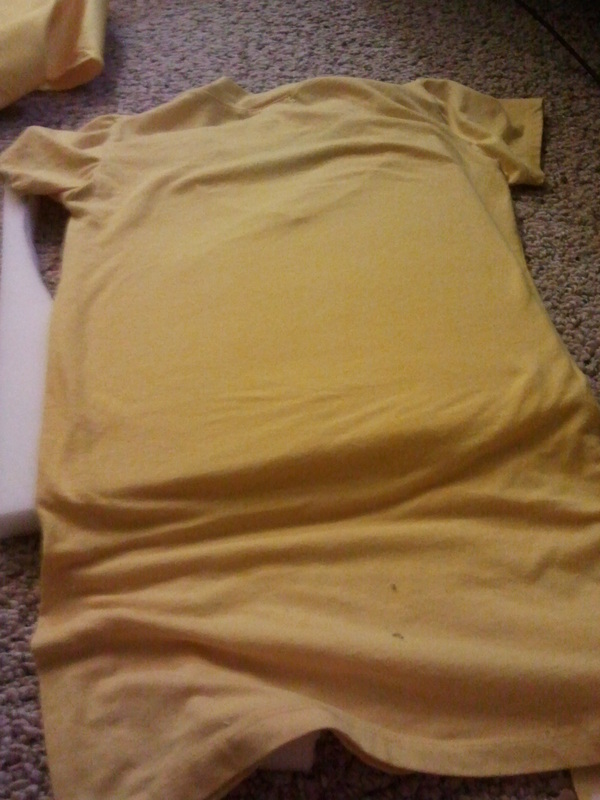

I literally just painted brown stripes on the back of the shirt I put the shirt over an extra piece of polyfoam to give me a flat surface.
After that, I am going to wear yellow tights, yellow and black striped leggings and some black shoes. Heels for the party, non-slip for work.. haha. And as for hair and make-up, My hair I will probably leave a little bit wavy like it is naturally and leave it down for the party. I have to wear it up for work, so I will probably put it back in a messy bun. Then I will do a really small bit of yellow face paint all over my face. Not too much, just to give it like a yellow tint. Then bright yellow eye make-up, bright red cheeks, and bright yellow on my lips too.
Lets break down the cost of this project:
Polyfoam - $13
Fabric - $10
Paint - $1
Hot glue/Scissors/pins/paintbrushes/tshirt/etc - on hand
Total - $24!!
Not bad for a full out Pikachu costume.
I am so excited for halloween!!
Are you? Tell me what you are doing, and show me your halloween costumes. I'll be looking forward to pictures come November! And I'll make sure I post them of me as Pikachu and my boyfriend as Ash!
Happy Halloween and Happy Crafting!
